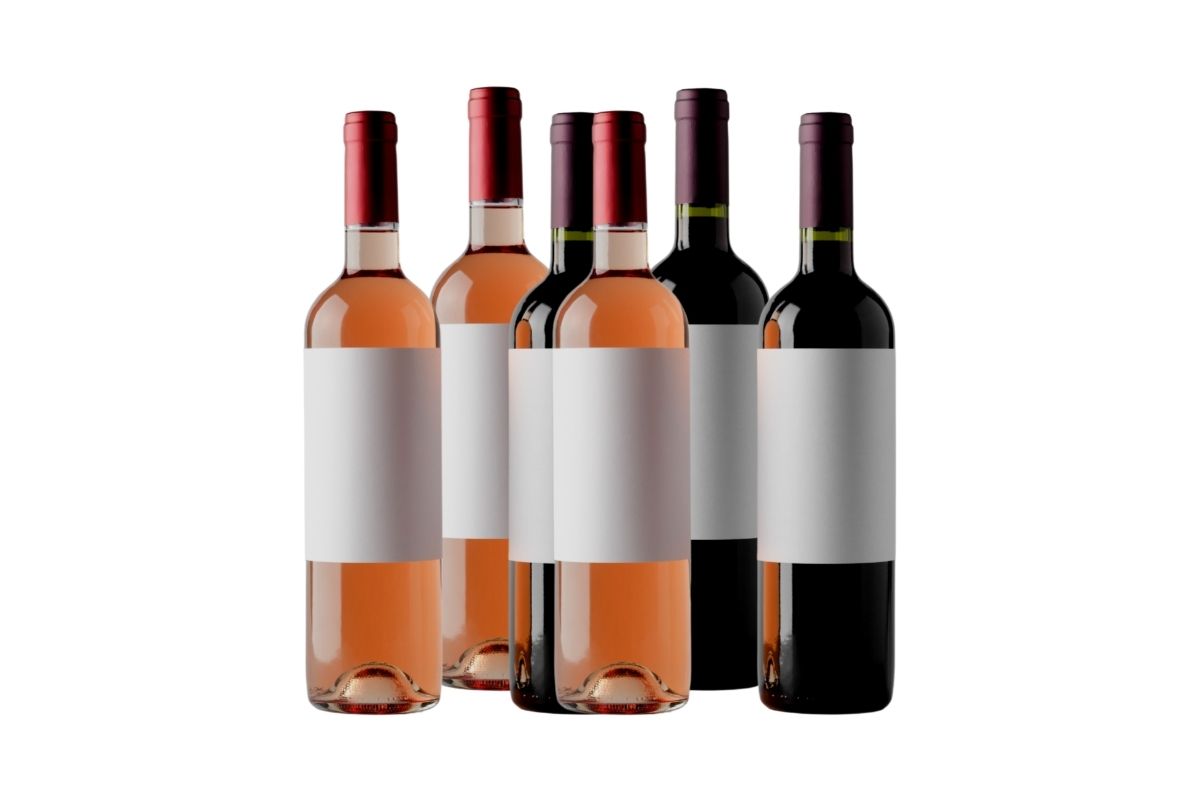
You might be wondering why anybody would want to remove the label from a bottle in the first place.
Well, you might want to use the labels for a work or art, or maybe you want to keep the bottles. It doesn’t matter either way. You want to get the labels off your bottles, that’s all that matters.
If you count yourself as one of those people, then you’re in the right place.
If you’d like to get those bottle labels off in one piece, stick around. All you need is 15 minutes, and a few basic tools of the trade. You’ll be happy to know that there are loads of methods you can try, too.
Of course, there is always one method that works a little better than the others, and you’re going to learn it today!
Removing Bottle Labels
Some bottle labels are nothing short of a work of art, no one can argue with that. You’ve probably come across one or two in your lifetime that you wish you didn’t have to throw away.
Who can blame you? Maybe you want to put it in a scrapbook. Heck, possibly even frame it. It’ll serve as a reminder of all the beers you’ve tried in your life – whatever. It doesn’t matter why.
The point is that some people don’t mind spending money on their beer. They think they should get something special out of it.
So, what do they do when they see a plain old boring bottle label? No one cares about the boring ones, it’s the special ones that are, well, special.
So, if you want to collect your labels, for whatever reason you have – we’ve got a foolproof method for you.
The best part? You would probably have a couple of beers before doing this method – it’s that easy.
Enough yammering, let’s get into it. We all have things to do.
Soak Or Bake
Soak or bake, or SOB, as we’ll refer to it, are the two methods of choice you will have. How do you know if you should soak or bake your bottle and label? Glad you asked.
To figure out which method you need to use to remove your beloved label, you’ll need to determine what adhesive was used to stick it to the bottle. It’s as simple as that.
Or is it?
Adhesive Types
There are three main types of adhesives that breweries use to stick labels to bottles: heat sensitive (HS), solvent based, and water-based.
When deciding between these methods, you’ll need to consider how long you plan on keeping the labels.
In order to decide which adhesive you’ll need to use, take a look at your labels. Determine what kind of adhesive they were printed with.
Solvent Based Beer Labels
These labels are usually made of vinyl, and are designed to withstand high temperatures during shipping.
These labels are not safe to be removed by soaking or baking. In fact, boiling them could damage your label. Instead, you must use a solvent based removal product.
These products contain solvents that will help dissolve the adhesive. This includes acetone, turpentine, white spirits, etc.
Heat Sensitive Beer Labels
These are the labels that most people want to remove. They are generally made from paper, and are designed to survive temperature changes.
When using any type of heating tool against them, you run the risk of damaging your label.
Baking is an excellent way to remove these. Use a low oven setting, and watch carefully. Don’t leave it unattended, either.
Water-Based Beer Labels
This is the newest category of label available. They are mostly used for craft beers, but are also found in some mainstream brands. They are just as easy to remove as other types of labels. Simply wash off in warm soapy water.
Determining The Type Of Adhesive
The easiest and most simple way to determine the adhesive in question is so simple you would laugh. No, don’t try to just peel the label off. Well, close.
Get a razor and peel the corner of a label up. Obviously, you’ll want to avoid doing this to a part of the label you actually want.
Those bottles with neck labels are best for this – there won’t be any waste.
If the label adhesive doesn’t stick to the razor, you’re going to want to soak it to remove the label. If it’s sticky, you’re going to bake it. It’s as simple as that!
Plenty Of Mixed Opinions
If you have ever gone on the vast internet to search how to remove labels from bottles, you will no doubt have come across hundreds of options. No, thousands. Probably even more.
The point is – there are endless opinions and arguments for various methods. You’d think that there would just be one or two decent methods out there for such a simple task.
Nope.
Do you soak the label? Do you use heat? The question to marinate or bake a label is often the one that stops people dead in their tracks.
When you don’t know a thing about the label and adhesive, soaking is probably the automatic thought. But if you’ve tried that, you know it doesn’t always end well.
So, what’s the solution?
Well, you might not have realized it, but even when it comes to soaking, there are roughly a trillion different “recipes” you can try.
Now, who has the time to test each and every single one of them?
We do, of course. There’s nothing like spending hours trying to get beer labels off beer bottles while drinking beer (this should only be done on empty bottles, right?).
If you want to find out if any of the methods found on the internet make the labels simply “slide off the bottle” just keep reading.
There are a lot of promises that go into some available recipes, but don’t hold your breath. We’ll get to the bottom of it.
The Soaking Methods
Instead of spending roughly seven hundred hours testing a bunch of methods that definitely won’t work, we picked the three most popular.
Remember – the whole point of this experiment is to find out which method works best. Not only that, but the labels should come off whole, and only in 15 minutes.
It’s not going to be easy.
To start, we got some beer bottles that were a good match for soaking. We got bottles with labels that were papery and dry feeling.
There was very little actual ink on the labels, and the overall texture was matte. All of this points to the fact that these labels are perfect for soaking.
Bottles emptied, we also had to make sure there was a perfect spot for them each. For this, we got large containers that were big enough to hold the bottles.
Since this was an experiment, we got something that we could see through to gauge the success of the methods.
Next, we created our solutions. Each solution was scaled down to make enough for 12 ounces, so the measurements varies from one method to the next.
Making the actual solutions was the next step.
The three most popular soaking solutions were baking a) soda and water, b) Oxiclean and water, and c) vinegar, dish soap, baking soda, and water.
Hot water was used to control for the differences because… science, right?
Baking Soda And Water
All you need to do is mix baking soda and water together. Using something like baking soda is considered to be less abrasive, so the color of the label won’t fade so much.
This method is probably the most popular one on the internet.
Everyone who uses this method makes it sound like magic, with labels floating to the top after a while. You just fill a sink, add one and a half ounces of Oxiclean, and let the bottles soak.
This method doesn’t have the same ring to it, but we gave it a shot nonetheless.
What’s so great about this method? It fizzes. That’s it, really. We decided to test this one out because it seemed to be popular, but also because it fizzes.
As expected, the Oxiclean and water solution got the best results.
Plain old water isn’t enough, but when combined with Oxi, those labels came off in no time. One could say these labels did, in fact, “slide off the bottle”. Maybe magic is real?
It’s obvious that you want your bottles soaking for as little time as possible. The longer the labels sit in water, the less appealing they get. No one wants a wrinkled, weak label if they’re trying to save it from the recycling.
At least the results are clear for this one. If you have a label that needs to be soaked off, the Oxiclean and water method is the one to go with. Try anything else, and you will be wasting your time and ruining your labels.
Putting It To Practice – How To Get The Label Off A Beer Bottle – A Step-By-Step Guide
Now it’s time to put this learning to use. We know everything we need to successfully remove labels from bottles.
Well, almost everything. We’ll go through everything step-by-step so nothing gets lost on you.
Below is the breakdown of measurements for the Oxiclean and water soaking method:
If You’re Using A Sink:
10 gallons of water
3 ounces (a full scoop) of Oxiclean
If You’re Using A Bucket:
1 gallon of water
2 teaspoons of Oxiclean
If You’re Using A 24 Ounce Container:
12 ounces of water
1/4 teaspoon of Oxiclean
Step 1 – Determine The Adhesive
What You Need For This Step:
Bottle with label
Razor
As we already mentioned, it’s crucial to know what kind of adhesive and label you’re dealing with before doing anything. How do you learn what that label is? Simple.
Get a razor blade
Find a corner of the label you don’t mind ruining a little. If your bottle has a label on the neck, go for this one.
Carefully slide the razor under the label and gently lift it a little.
Does the razor get stuck to the adhesive? It’s probably a label that should be baked. Does the razor not stick to the label? It’s probably a good label to get soaked.
Don’t try to use your fingers to do this test. As tempting as it might be, it’s so easy to rip the label or otherwise ruin it. Not to mention you’ll get glue on your fingers.
Using a razor is just cleaner and, honestly, way easier. So, get used to needing to have a razor lying around if you’re a frequent label collector. Get yourself a razor holder.
Step 2 – Removing The Label Using The Correct Method
You’re determined what kind of adhesive has been used, not you need to make the right choice! It’s not hard, just read the above step again. Sticky = bake. Not sticky = soak.
That’s the basics of it, but there is a little more that goes into it. The idea is that the sticky labels, or “peel and stick” labels, can be removed when heat is added.
That isn’t to say that when some heat is added that they will simply float off – you’ll still need to do some work.
Applying heat to the label simply improves your chances of removing the work of art in one piece.
When it comes to dry labels, the water (and Oxi), will help separate the label from the bottle. It’s really as simple as that.
If you were to soak a sticky label, you’d just make a sticky mess, and the label would be ruined. That’s why it’s so important to figure out which adhesive and label type you’re dealing with.
You run the risk of destroying the label if you use the wrong method!
The Soaking Method For “Dry Labels”
What You Need:
Bottle with label
Oxiclean
Hot water
Container / Sink / Bucket
Wax Paper
First, we’ll go through the method you would need to soak off a dry label. It’s pretty straightforward, so there’s nothing to worry about. All you need is some hot water and Oxiclean (plus a bottle with a label, of course).
You need to know that it’s always a gamble when it comes to soaking off labels.
Some labels will get destroyed when they get submerged in water. Others will do just fine. Some ink simply dissolves off the label as it sits in the water.
There are other routes you could go down if you’re too worried about that, but we’re going to assume that you’re a daredevil.
We’ll continue on from the prior step, where we learned what adhesive was being used for the label.
Prepare your container or sink with the correct amount of water and Oxiclean. You can find the measurements in one of the above sections. Make sure you measure out enough for the container you are using. If you’re planning to soak several bottles, use a sink.
Add your hot water to the sink
Add the Oxiclean to the hot water
Stir the two together thoroughly
Place the bottles in, so that the labels are submerged
Set a timer for 15 minutes
After 15 minutes, check on the bottles. The labels should be off the glass and floating around. If they aren’t, feel free to set the timer for another 15 minutes before checking back.
If the glue is still being stubbornly stuck on after an hour, you’ll need to remove the label yourself.
Get the bottle out of the water, empty it, and gently dry it off. You can just blot the label area so that any excess water has been removed.
Get your razor, and start peeling with it. Start on your dominant side and work slowly. The razor should easily slide beneath the label edge.
Work the label away from the bottle very carefully. Try to position the blade at the smallest angle you can manage, so that it’s almost flat against the bottle.
Lift the edge away using only the razor. You might be tempted to use your fingers, but don’t. All you will do is crease the label you’ve worked so hard to save.
Slowly work your way across the whole label. Work vertically, then horizontally. Adjust the angle of the blade as you work, and work slowly
The label should come off pretty easily, and it might be a little fragile after soaking in water. Be sure to not pull it, since you might tear it.
When you eventually get the label off the bottle, you can place it face-down on your wax paper.
Wait for the label to completely dry before you handle it again.
Soaking Alternatives
If you’re a little too cautious for this method, why not try these out? You’ll need some patience and a whole lot of willpower. However, they do reduce the risk of damaging the labels.
Option 1
You could try using wine label removal sheets. Now, as a beer drinker, you might be asking what those are.
Well, wine label removal sheets are essentially wax paper. They have been treated with a special kind of wax that makes them easy to remove once heated up.
This means that you don’t have to submerge the entire bottle in water.
Just place the sheet over the top of the bottle, add a bit of hot water, and then wait. When the time is up, remove the sheet by peeling it away from the bottle.
These come in different sizes, so you may want to adjust how much you use depending on the size of the label.
There are also things like sprayers that are designed specifically for removing wine labels. Again, these require less work than soaking the entire bottle.
The result also means that the labels are laminated. It’s up to you to decide if that is a good thing or not.
Option 2
If you have the patience of a saint, you could try this method. You can try to send the brewery a direct letter requesting an unstuck label.
The letter will have to be a self-addressed, stamped envelope (SASE). Ensure that the envelope is big enough, and has a cardboard backing to keep the stamp safe.
You basically want to make it as easy as possible for someone on the receiving end to pull through on it.
It does work (usually), but it requires patience. Postage is slow, and you never know when you should be able to even rely on it or not.
This method can take some time, but you’d feel pretty special if you succeeded, right?
The Baking Method For “Sticky Labels”
What You Need For This Method:
Oven
Bottle with label
Card stock
Oven mitt
Thick towel
The idea behind this is simple enough – the sticky glue will weaken as it gets heated up. It won’t just fall off, but it’ll make it a hell of a lot easier.
If you don’t have an oven to try this out in, you could test a hairdryer. It should still be able to do the job, but it might be a little trickier.
DO NOT use a toaster oven. Toaster ovens do not apply the heat evenly, and the label will most likely start to melt before you can get to it.
We’ll continue from the whole “what adhesive is used” scenario.
Preheat the oven you are going to use to 350 degree Fahrenheit.
Once preheated, place your bottle on the middle rack, right in the center. Make sure the label side is facing up.
Allow the bottle to “bake” for no more than five minutes. If you leave it for longer than five minutes, the label might just start to melt.
This might sound obvious, but put the oven mitt on before sticking your hand in the oven to retrieve the bottle. You’d be surprised by how many people get a little too excited and forget about the blazing heat. You will want to carefully grab the bottle by the neck when you remove it from the oven. DO NOT touch the label, or you might mess it up.
Place the bottle on a work surface that can take the heat.
Get your razor out and start peeling the label off on your dominant side. The razor should be able to easily slide underneath the label, and you just need to keep it going. DO NOT use your fingers. You should hold your razor at the most acute angle you can manage, so try to keep it flat against the bottle if you can.
Carefully work the razor around the entire label. First go vertically, then horizontally. Adjust the blade angle as you work, or else you’ll ruin the label. Take your time as you do this, and the label will come off easily and in one piece.
If you feel your hand getting too hot or tired, you can take a break. Just make sure you place the bottle upright. If it rolls, all your hard work will be undone.
When the whole label has finally been removed, you can put the bottle down. Feel free to take your oven mitt off any time you like now. Use your teeth if you have to, no one is watching.
You can now mount the label on the card stock. Measure it out, or simply slap it on for that robust look. If you have a super long label, it might be worth mounting it starting at the middle, and working your way out. That way, you can smooth everything out as you work.
What To Do With The Label
After all that work, you should have something in mind. If you don’t, then it’s a little bizarre to have done all the work.
There are a couple of different things you can do with your newly acquired labels. Let’s take a quick look before wrapping this up.
Frame It
One thing you could do is frame the label. You can show off your label as a piece of art, or even make a gallery wall of your exploits! It’ll be an interesting talking point, so make sure it’s visible in your house of business!
Create A Label Album
A picture album made from beer labels? Who wouldn’t love that? It would be a great conversation starter at parties.
You can keep track of every beer you’ve ever tasted, and even write something about it on the album! That way, you can look back on those times in fondness when you reach a ripe old age.
Get Coasters Made
You could also use your saved beer labels to decorate coasters. Yet again, it’s a great talking point. Just be careful to get a good coating when all is said and done, so it doesn’t get ruined by a spilled beer!
Screen Print Bottles
Okay, you don’t have any labels to use for this one, but you can also save your screen print bottles!
These bottles also look like works of art, and you don’t have to go through the process of rescuing the labels. That sounds like a win.
Final Thoughts
Well, we hope you found these tips helpful. We know they were fun to create, and we’re hoping they were useful.
Have you tried any other ways to salvage your beer labels? What did you do with them? Tell us in the comments below.
Hi, I’m Andrew Carr and I find beer fascinating. Not just drinking it (although that is a plus!) but everything about it. There is so much to learn - the fermenting process, the best glasses for each type, recipes to make at home… The list goes on!
I have been making my own beer for almost a decade now and I pride myself on my home setup. I’ve made sours, pale IPAs, stouts - you name it, I’ve probably made it in the comfort of my own home.
We use cookies on our website to give you the most relevant experience by remembering your preferences and repeat visits. By clicking “Accept All”, you consent to the use of ALL the cookies. However, you may visit "Cookie Settings" to provide a controlled consent.
This website uses cookies to improve your experience while you navigate through the website. Out of these, the cookies that are categorized as necessary are stored on your browser as they are essential for the working of basic functionalities of the website. We also use third-party cookies that help us analyze and understand how you use this website. These cookies will be stored in your browser only with your consent. You also have the option to opt-out of these cookies. But opting out of some of these cookies may affect your browsing experience.
Necessary cookies are absolutely essential for the website to function properly. These cookies ensure basic functionalities and security features of the website, anonymously.
Cookie
Duration
Description
cookielawinfo-checkbox-analytics
11 months
This cookie is set by GDPR Cookie Consent plugin. The cookie is used to store the user consent for the cookies in the category "Analytics".
cookielawinfo-checkbox-functional
11 months
The cookie is set by GDPR cookie consent to record the user consent for the cookies in the category "Functional".
cookielawinfo-checkbox-necessary
11 months
This cookie is set by GDPR Cookie Consent plugin. The cookies is used to store the user consent for the cookies in the category "Necessary".
cookielawinfo-checkbox-others
11 months
This cookie is set by GDPR Cookie Consent plugin. The cookie is used to store the user consent for the cookies in the category "Other.
cookielawinfo-checkbox-performance
11 months
This cookie is set by GDPR Cookie Consent plugin. The cookie is used to store the user consent for the cookies in the category "Performance".
viewed_cookie_policy
11 months
The cookie is set by the GDPR Cookie Consent plugin and is used to store whether or not user has consented to the use of cookies. It does not store any personal data.
Functional cookies help to perform certain functionalities like sharing the content of the website on social media platforms, collect feedbacks, and other third-party features.
Performance cookies are used to understand and analyze the key performance indexes of the website which helps in delivering a better user experience for the visitors.
Analytical cookies are used to understand how visitors interact with the website. These cookies help provide information on metrics the number of visitors, bounce rate, traffic source, etc.
Advertisement cookies are used to provide visitors with relevant ads and marketing campaigns. These cookies track visitors across websites and collect information to provide customized ads.


")


")
")


